Hi all,
I need Apple car play or similar in my car and would like ideas and recommendations. My main requirement is I want plug and play, and don’t want to mess about with wiring. It’s a facelift Up with Climate control so I think a double din unit is out of question without major surgery. My options in mind…
1. Tablet style dash mounted unit. Powered by usb. So far I’ve only found one 5v unit meeting this criteria.
2. iPad mini or similar tablet used natively mounted above dash
3. Same as option one but cig lighter powered mounted below stereo.
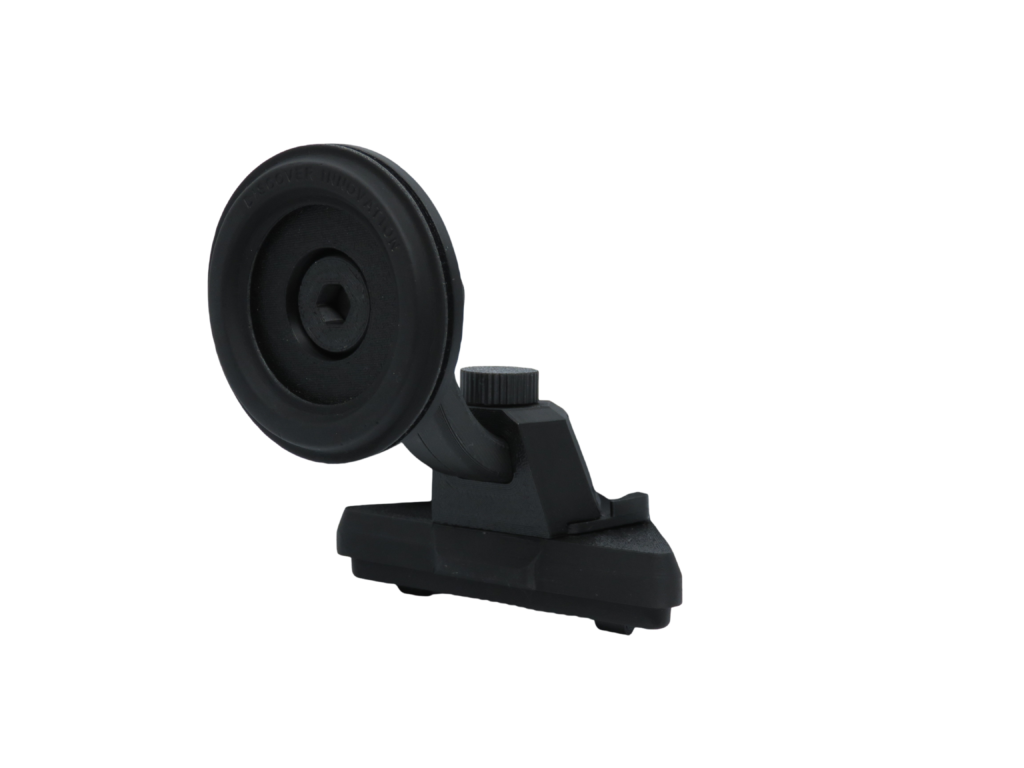
4. Wild card - use my iPad pro natively and make a magnetic mount for it to be in portrait mode under dash. Fits and looks very slick but perhaps a bit out of keeping with the type of car an up is.
Would love to see what others have done and welcome advice and recommendations.
Thanks
Raj
I need Apple car play or similar in my car and would like ideas and recommendations. My main requirement is I want plug and play, and don’t want to mess about with wiring. It’s a facelift Up with Climate control so I think a double din unit is out of question without major surgery. My options in mind…
1. Tablet style dash mounted unit. Powered by usb. So far I’ve only found one 5v unit meeting this criteria.
2. iPad mini or similar tablet used natively mounted above dash
3. Same as option one but cig lighter powered mounted below stereo.
4. Wild card - use my iPad pro natively and make a magnetic mount for it to be in portrait mode under dash. Fits and looks very slick but perhaps a bit out of keeping with the type of car an up is.
Would love to see what others have done and welcome advice and recommendations.
Thanks
Raj